This guide is written to show you how to add a new domain in an existing forest in Windows Active Directory. You can add a new domain by using the server manager or PowerShell.
In this guide, I'll show you how to use the server manger. Before you add a new domain, your system must meet some prerequisites which are listed below.
Prerequisites
- Static IP is configured
- Administrator account has strong password
- Firewall is turned off
- DNS server settings in TCP/IPv4 are correct and they are pointing to a domain controller
Add a New Domain in Existing Forest in Windows Server 2016
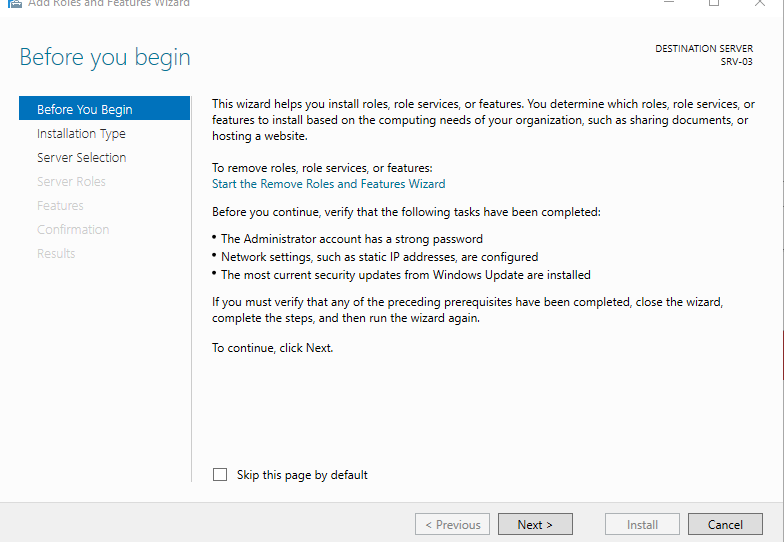
Step 1. Open server manager dashboard and click Add roles and features.
Step 2. Read the prerequisites and click Next.
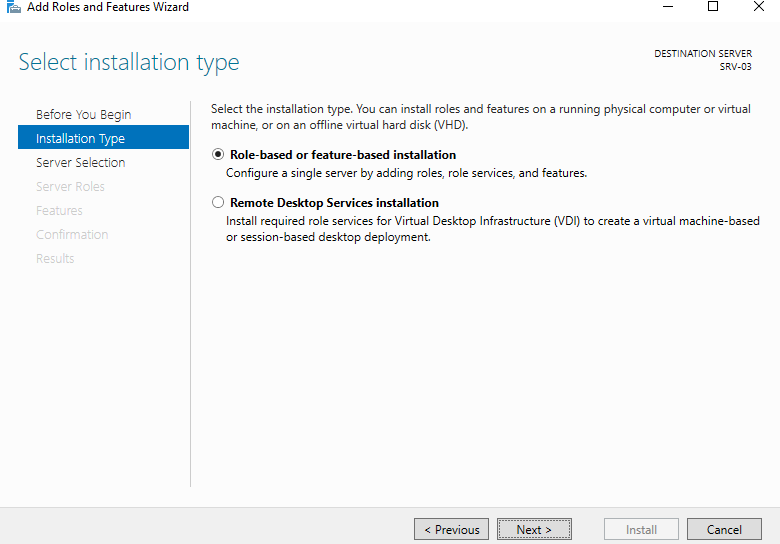
Step 3. Choose Role-based or feature-based installation and click Next.
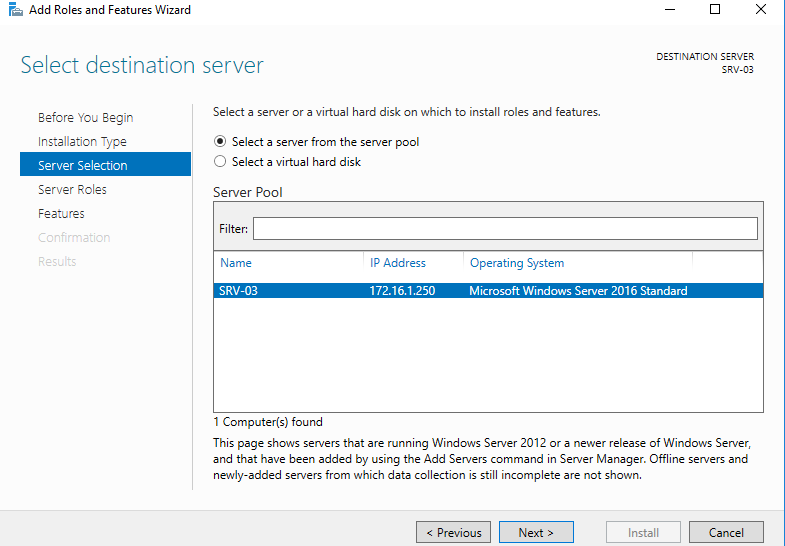
Step 4. Choose the destination server on which you want to configure the new domain and click Next.
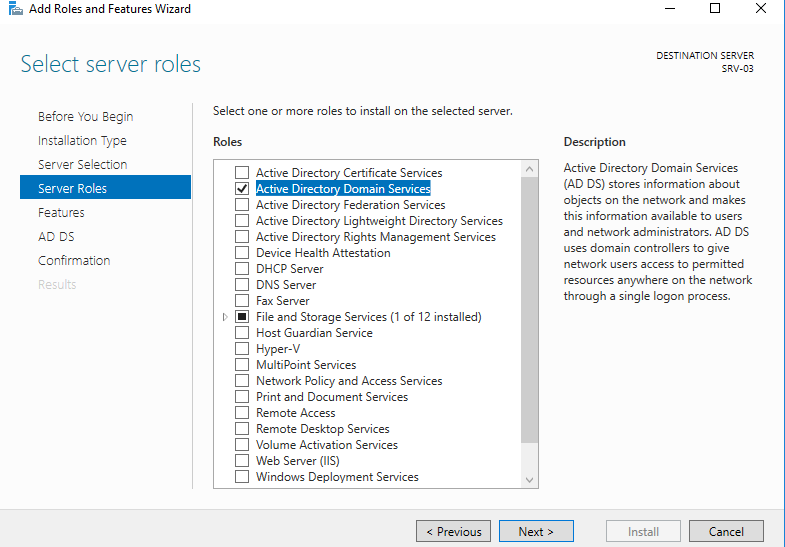
Step 5. Choose Active Directory Domain Services from server roles. As soon as you check the server role, a new window pop up click Add Features.

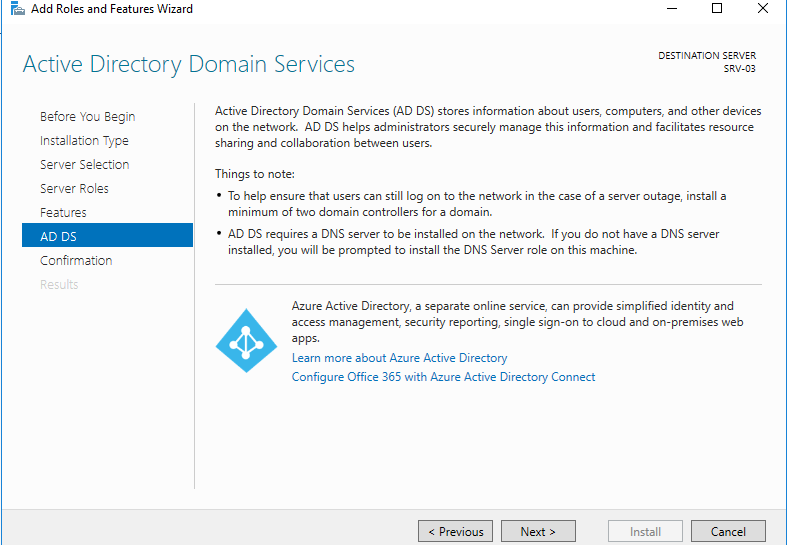
Step 6. Click Next.
Step 7. Click Next.
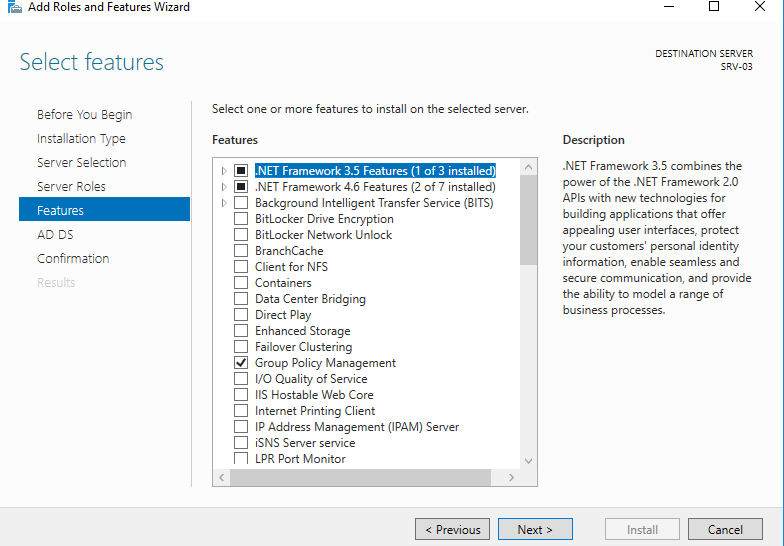
Step 8. Click Next.
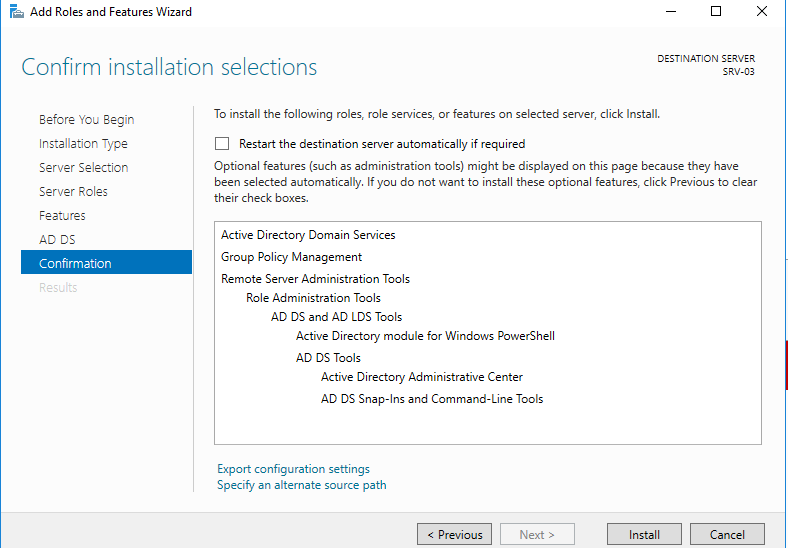
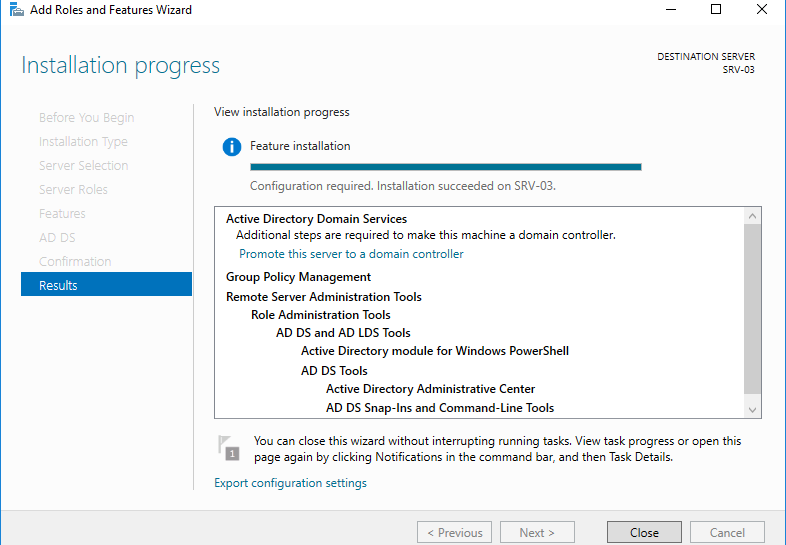
Step 9. Click Install and wait for an installation to finish. This may take several minutes to complete.
Step 10. Click Promote this server to a domain controller.
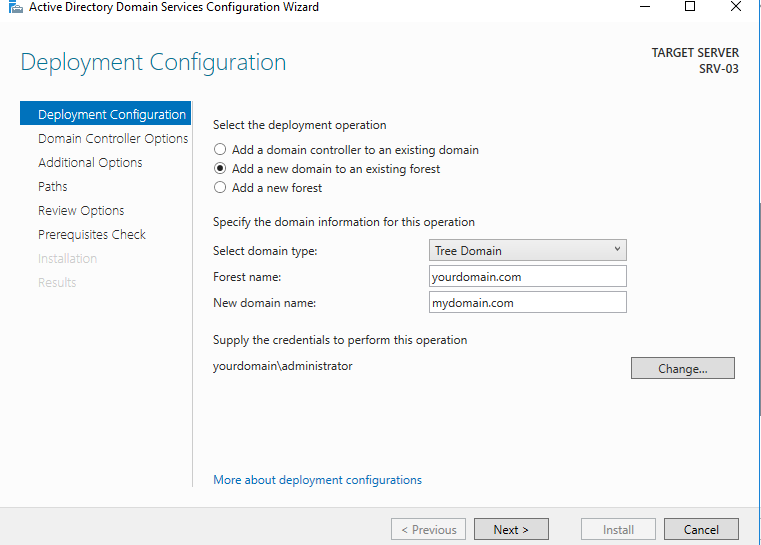
Step 11. Choose to Add a new domain to an existing forest, and tree domain from domain type. Provide forest name, new domain name, and credentials of an account which is part of enterprise admin group. Click Next when you are done.
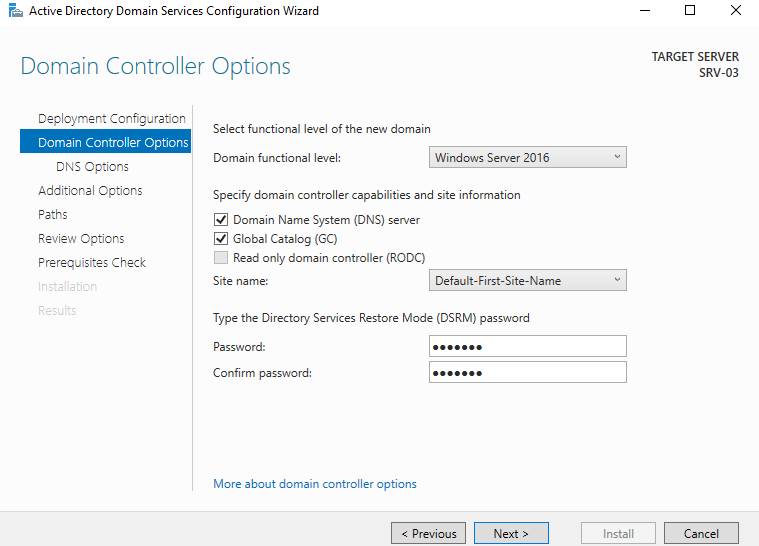
Step 12. Provide Directory Services Restore Mode (DSRM) password and click Next. Keep the rest of the options as default while making sure the options for Domain Name System (DNS) Server and Global Catalog (GC) are checked.
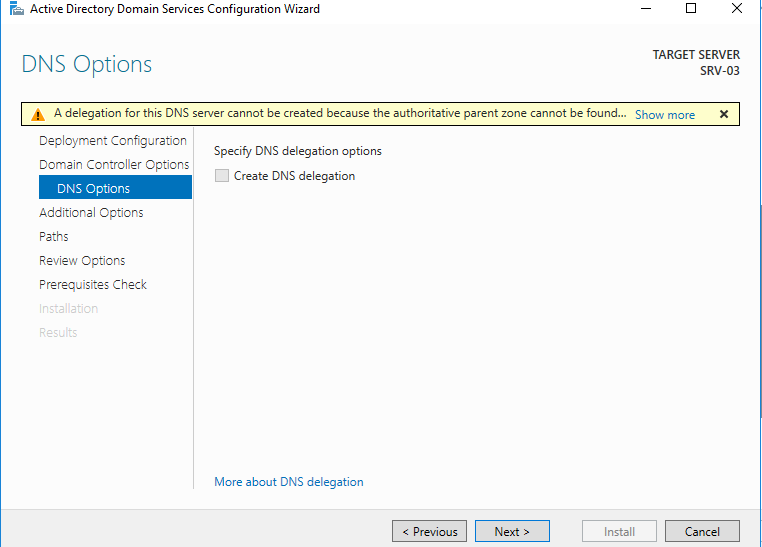
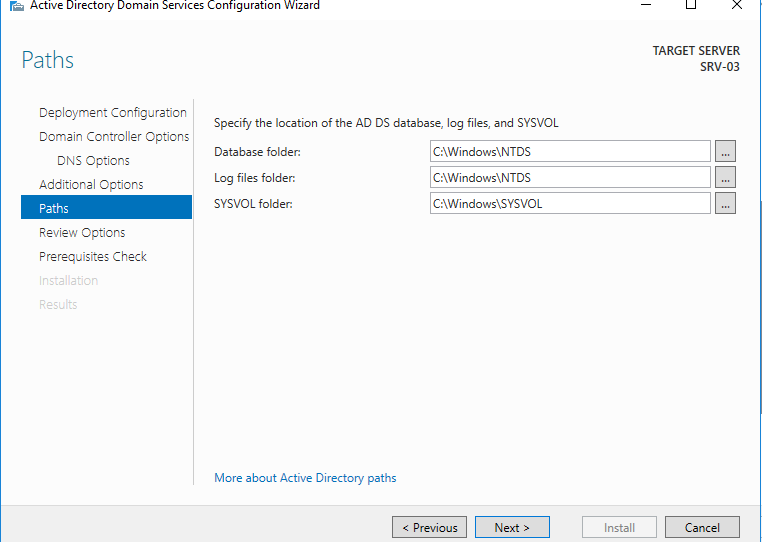
Step 14. Ignore the warning and click Next.
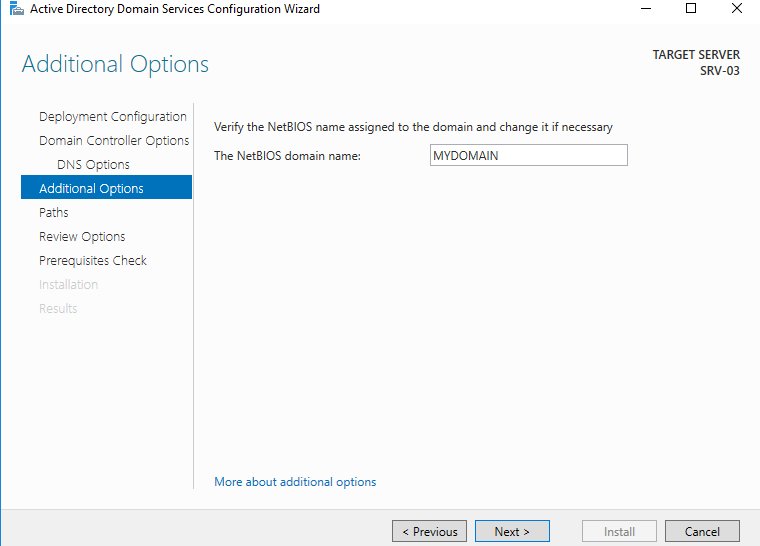
Step 15. Click Next.
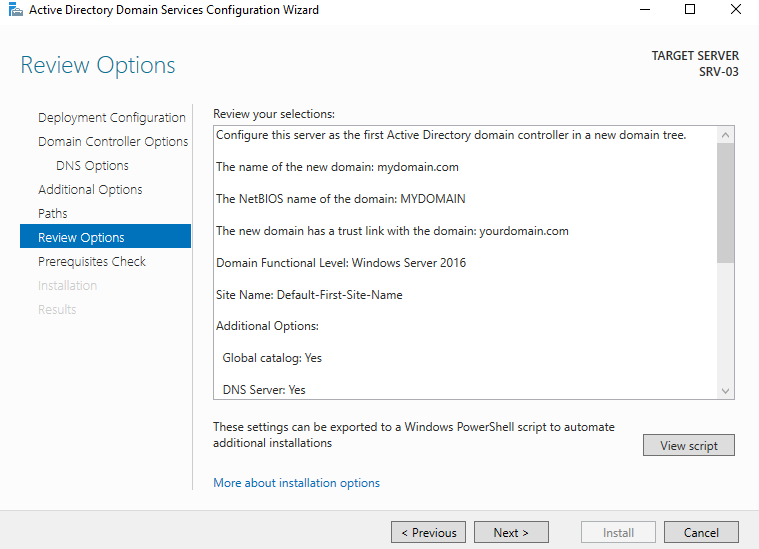
Step 16. Click Next.
Step 17. Click Next.
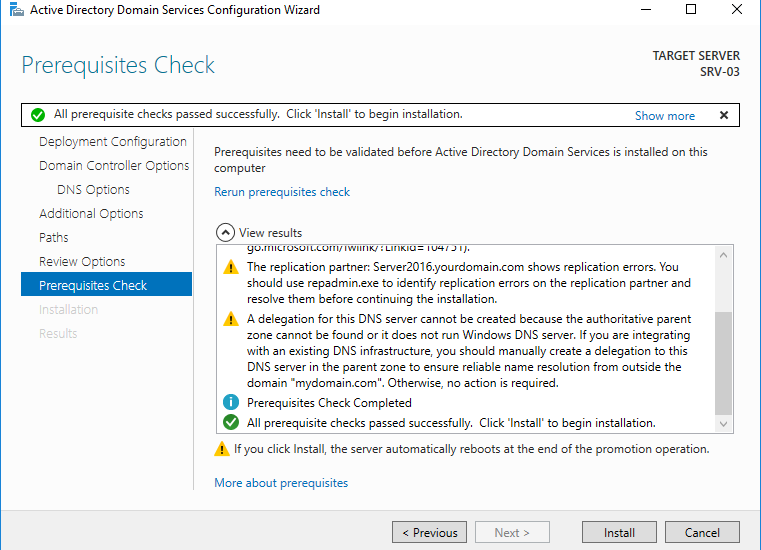
Step 18. Click Install and wait for the configuration to finish. This may take several minutes to complete.
When you are done with configuration, the server will be rebooted automatically. After reboot, you can login with your domain admin account and start managing the new domain.
